Suitable Surfaces
- Dry, solid and well-bonded floors.
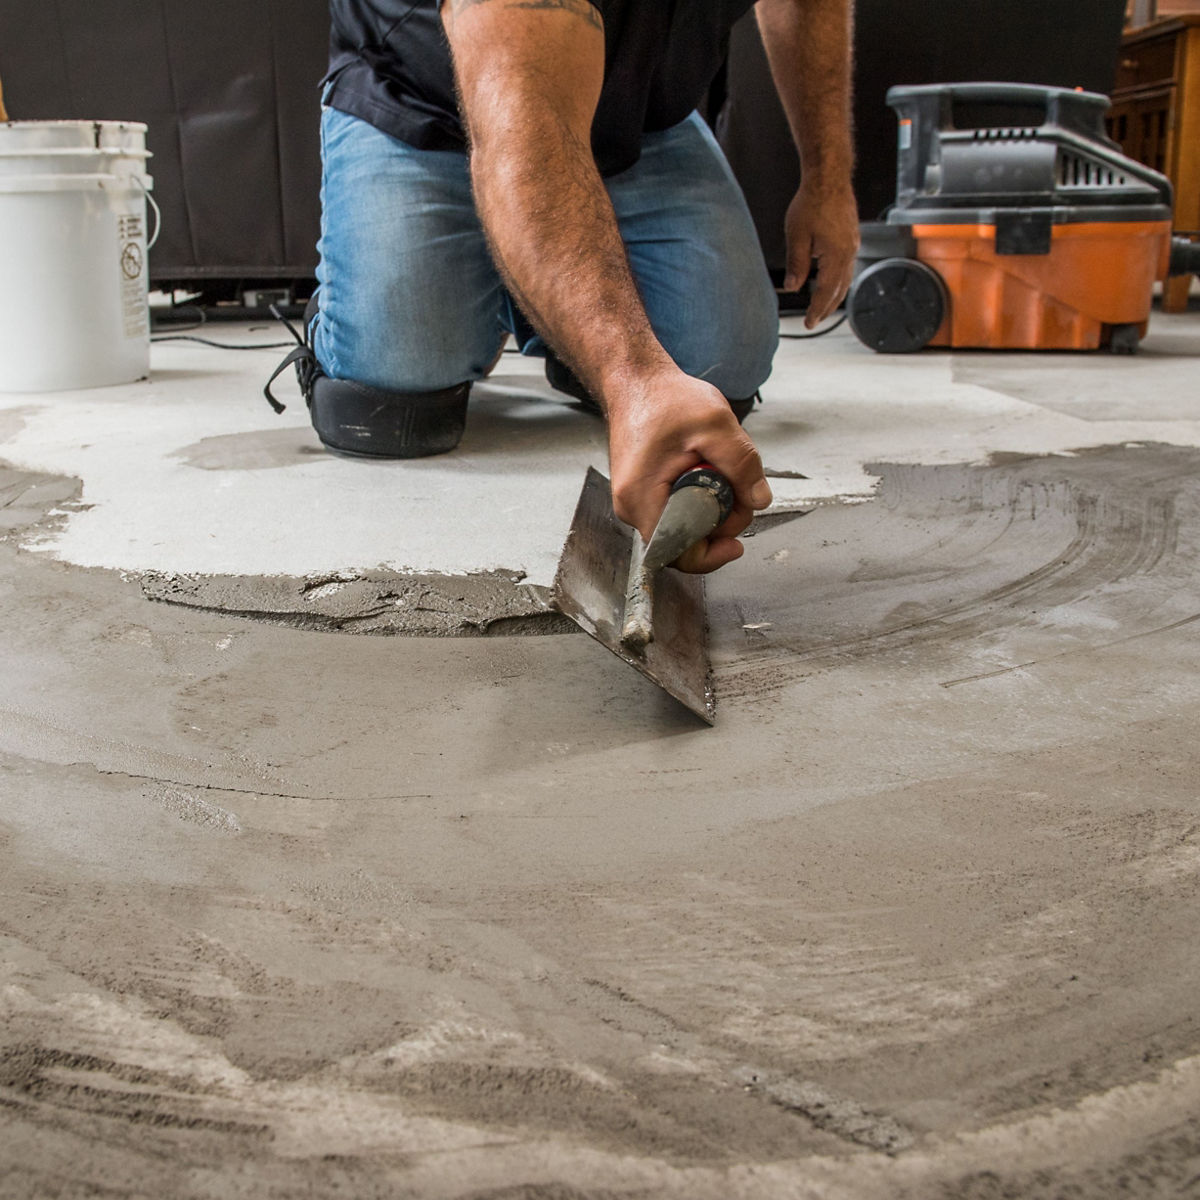
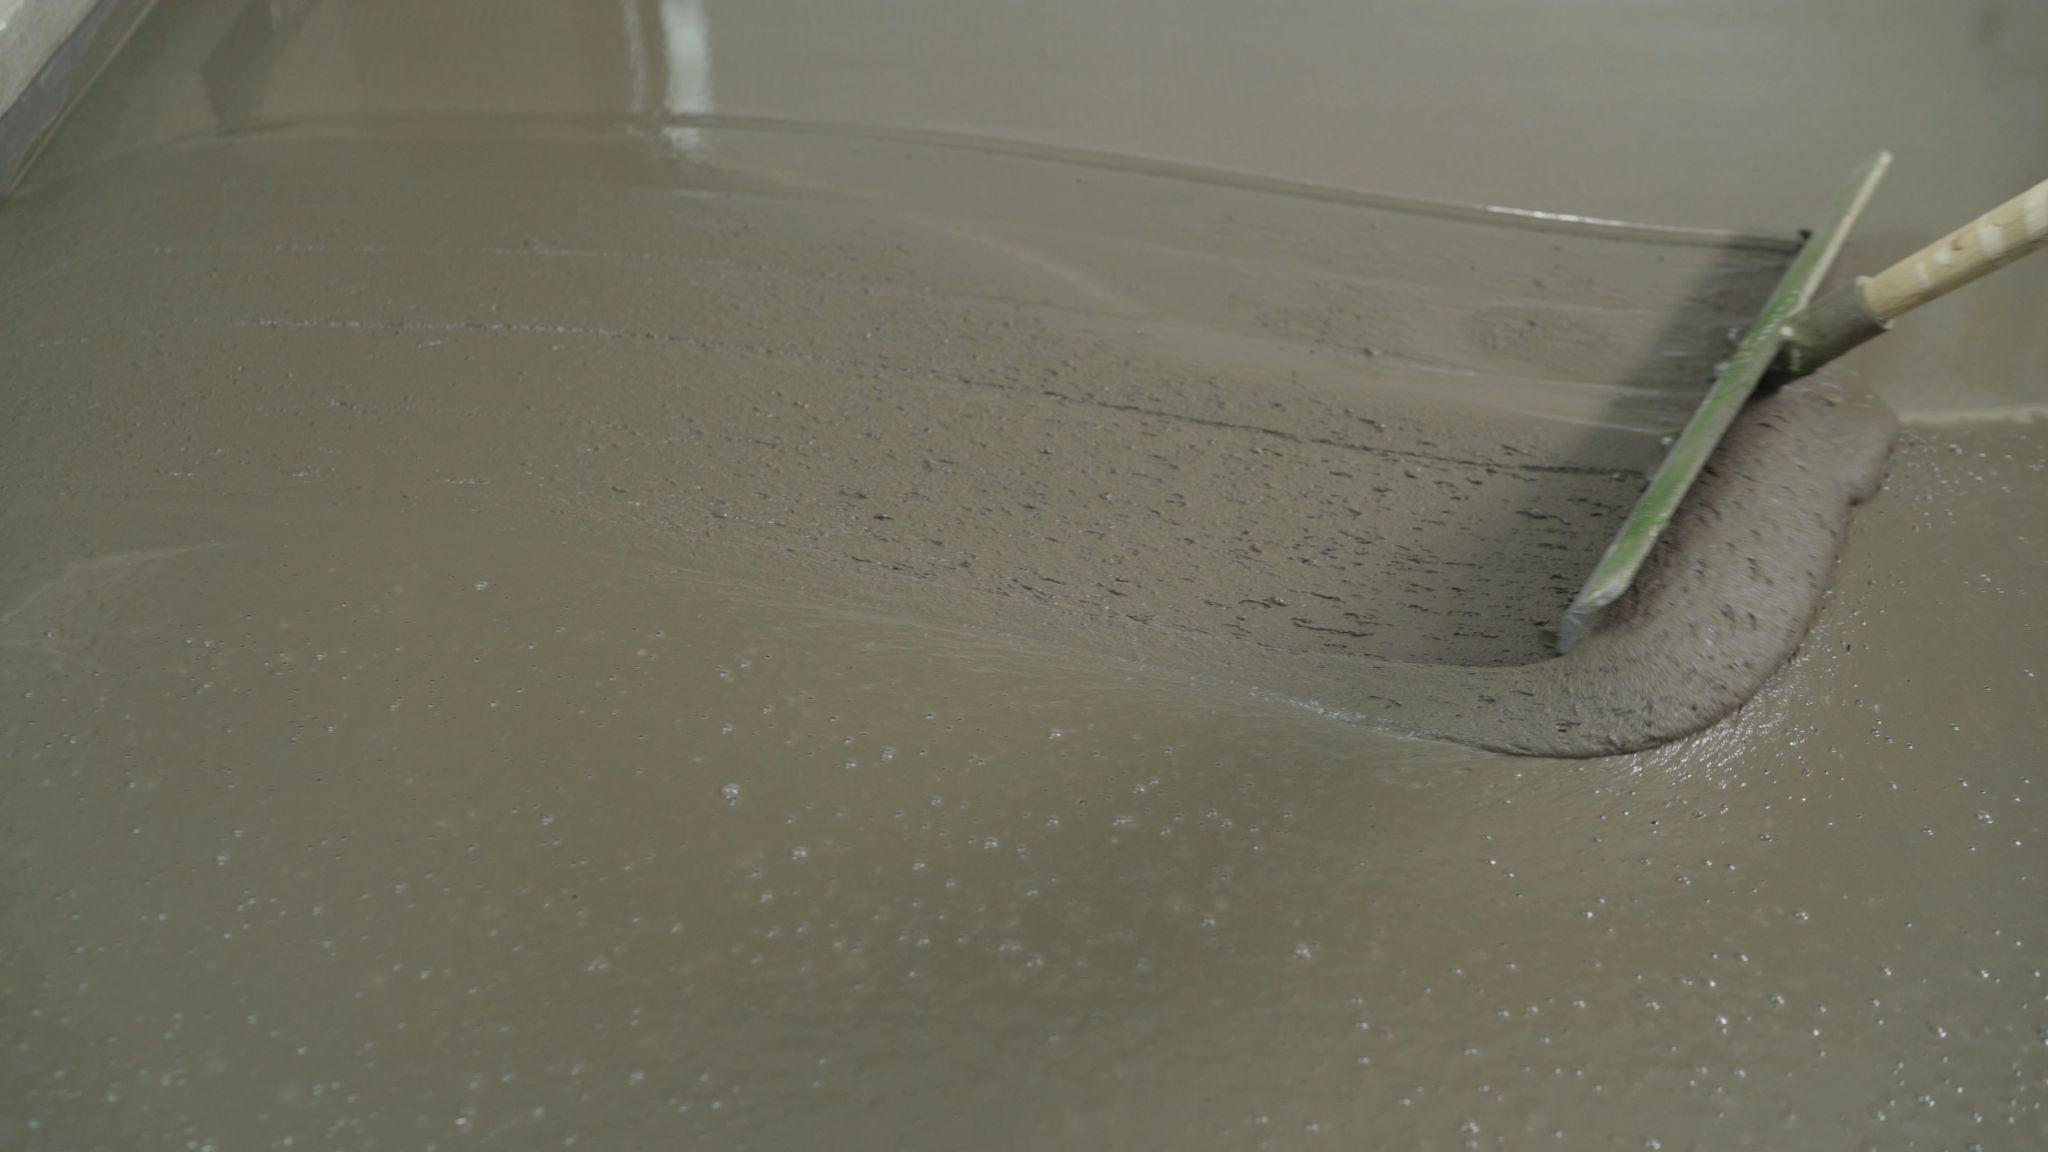
- Clean concrete and prepared mineral bases.
- Wood floors with plywood over the top.
- Tiles with grout lines filled level.
- All surfaces must be dust free.
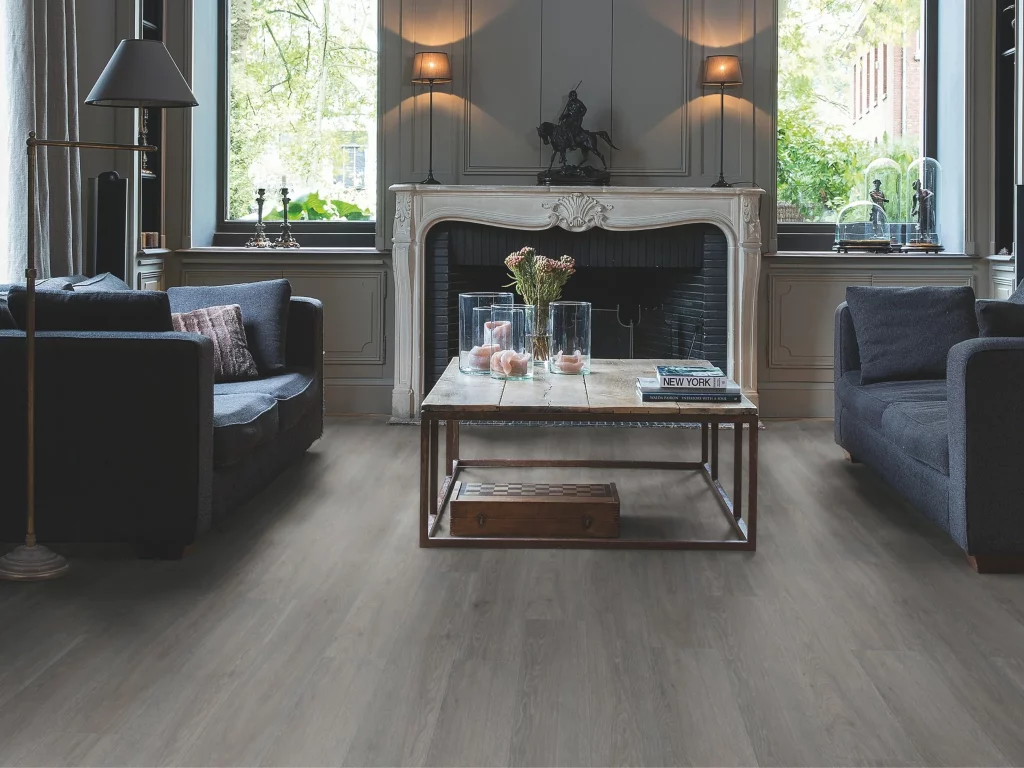
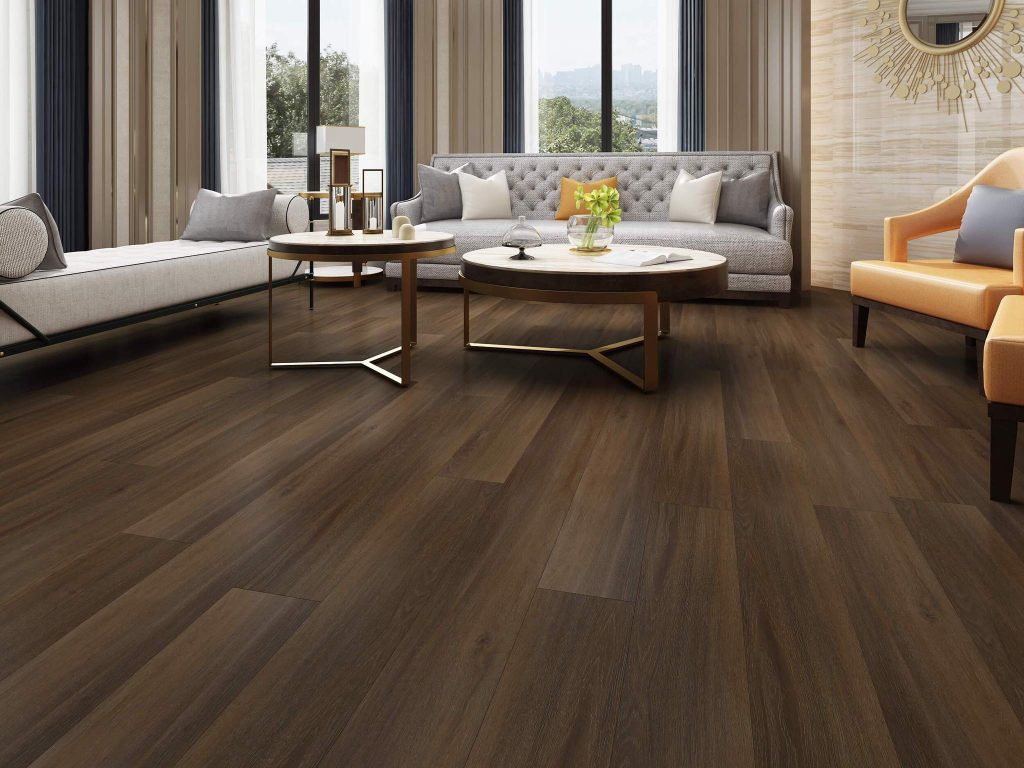
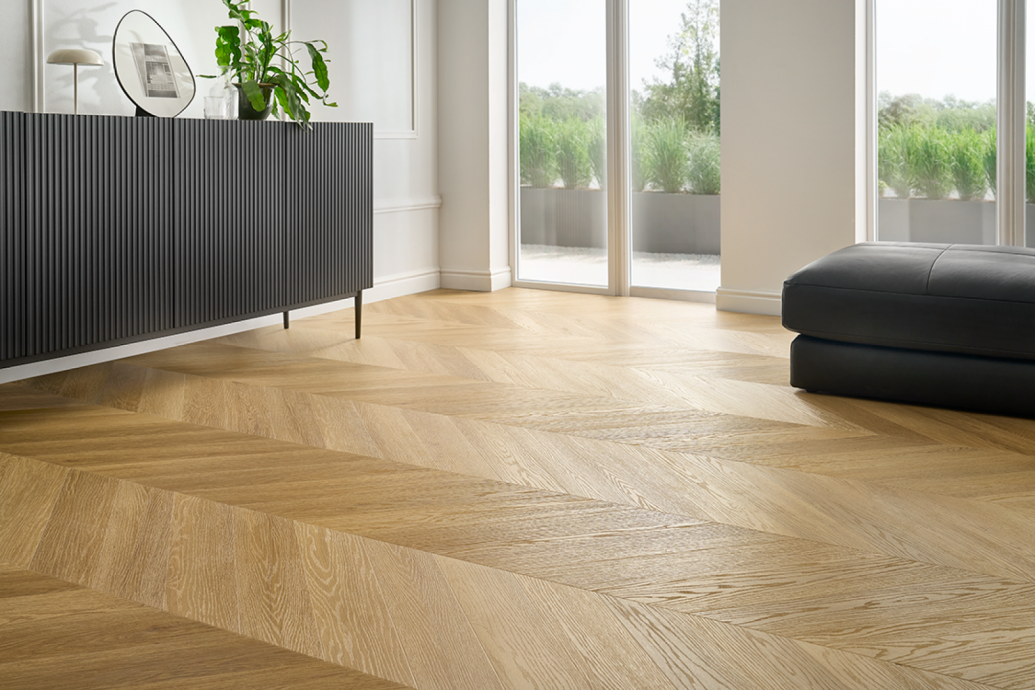
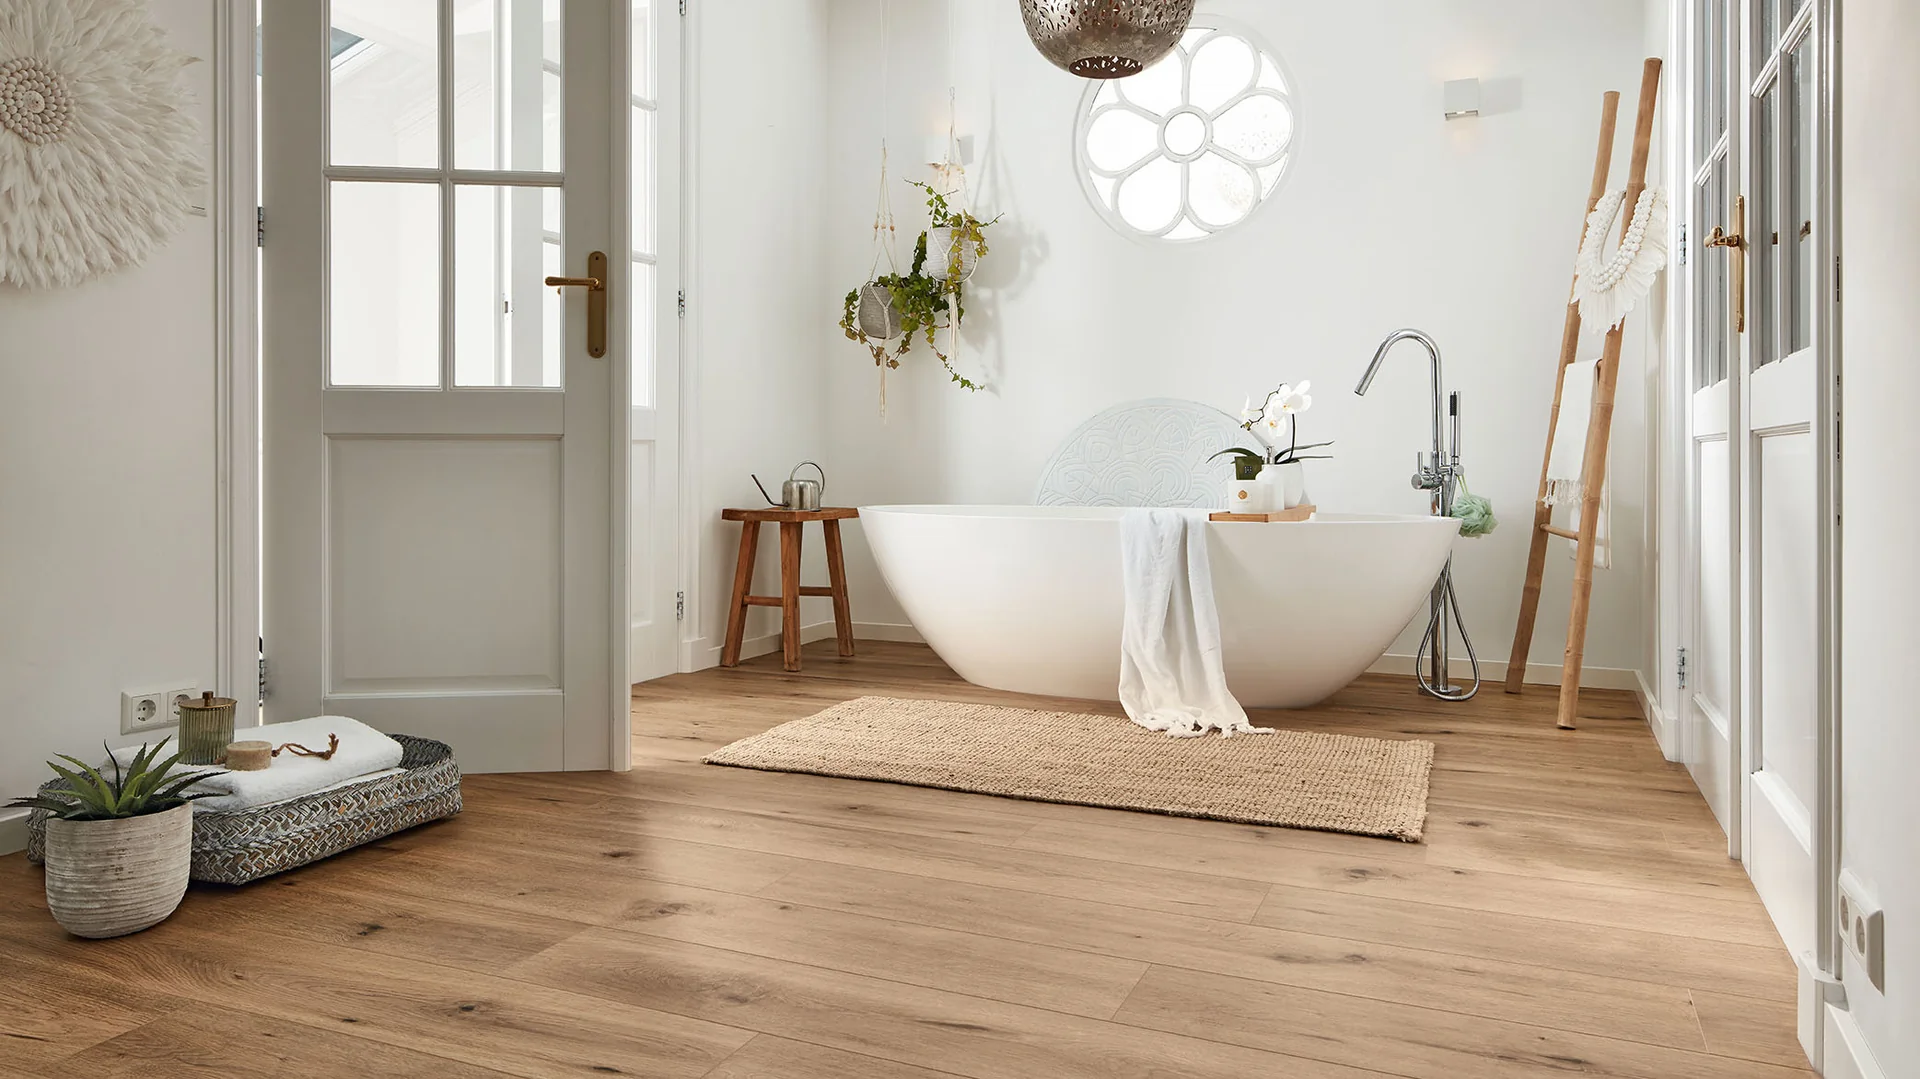
Browse our collections and find your perfect floor.
A clear guide to preparation, fitting, underfloor heating, care and warranty cover for BML waterproof flooring.
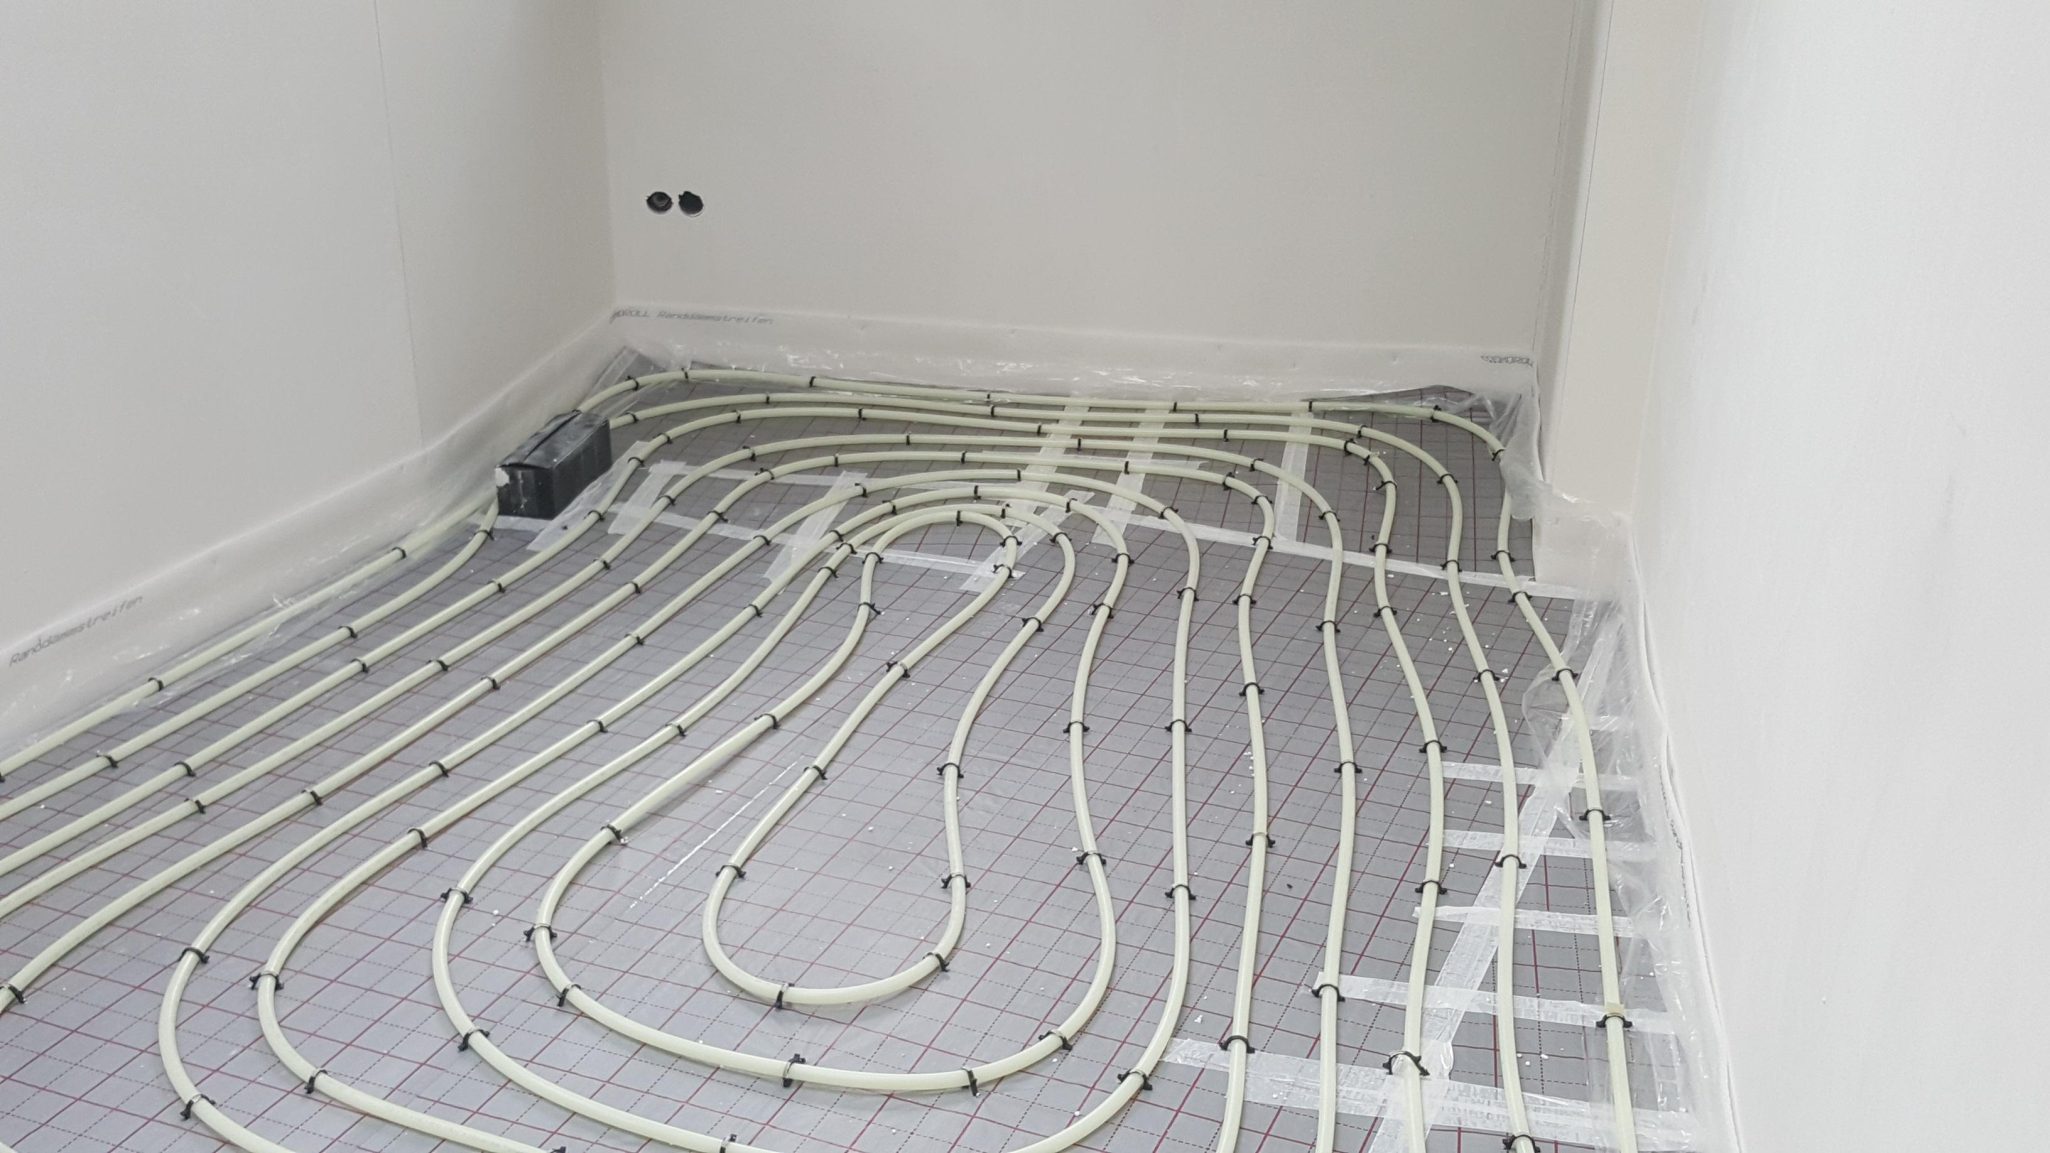
Check the flooring, prepare the space properly and make sure the subfloor is ready before installation starts.
Do not remove old resilient flooring without checking first. Some older materials may contain harmful substances.
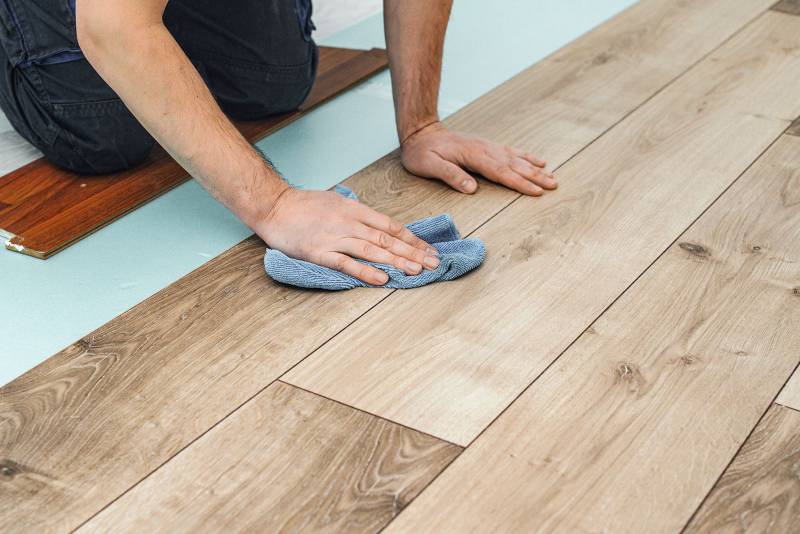
Begin in a corner with the tongue side facing the wall and leave the correct expansion gap with spacers.
Lock the next plank carefully into place and tap joints lightly until the boards sit flat.
Mark the final piece accurately, cut it to size and fit it back into position.
Use off-cuts where possible and keep joints staggered for a balanced, professional layout.
Engage the side joint first, lower the board and lock the end joint carefully into place.
Measure against the wall, allow for the expansion space and cut the final row neatly to size.
Mark all cut-outs carefully and leave enough space around fixed obstacles and vent openings.
Trim frames to the correct height so the flooring slides underneath cleanly, then remove spacers at the end.

Some nails, fasteners and solvent-based adhesives can cause staining or discolouration. Always use suitable installation products.
For 25 years from purchase, the floor is covered against manufacturing defects and qualifying wear or staining when installed and maintained correctly.
The light commercial warranty applies to selected lower-traffic commercial spaces such as hotel rooms or cafés.
The right preparation protects the finish, the performance and the warranty. Our team can help you check subfloors, fitting conditions and the next steps before work begins.
Clear warranty information before purchase and dependable support after installation. You can also jump back to the main Expert Flooring Guide hub to browse every collection in one place.
These hand-picked related guides strengthen the journey between installation, technical advice, room climate and ongoing floor care.
These article links are pulled from the Homes & Floors article hub so the guide pages connect back into broader buying advice, comparisons and care content.

We use essential cookies for secure browsing and core site functionality, plus optional cookies for analytics and marketing to improve your experience, understand site usage and support relevant campaigns.