Your Basket 0
Your basket is empty
Browse our collections and find your perfect floor.
Browse our collections and find your perfect floor.
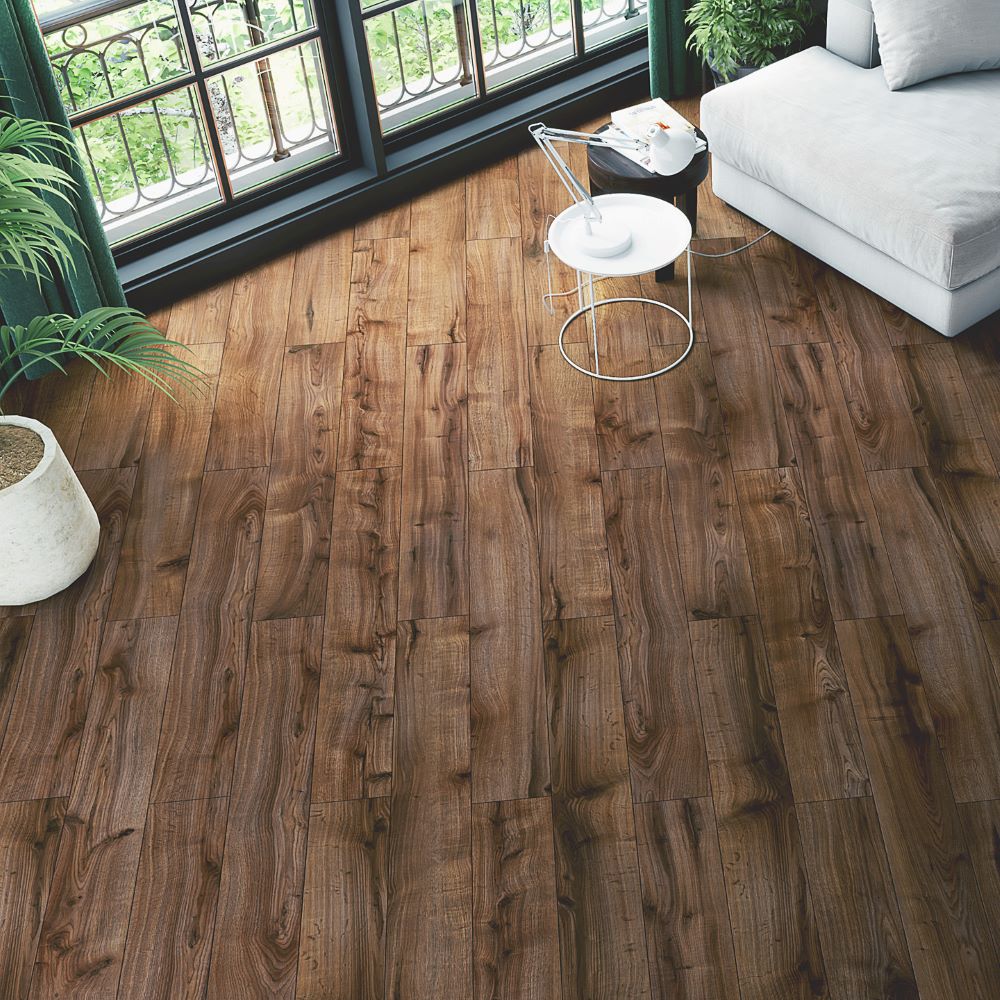
A specialist guide to preparing, planning and fitting herringbone flooring. Use this page to understand the key site conditions, layout principles and installation approach needed for a clean, balanced parquet finish.
Herringbone flooring is best installed using a full glue-down method for long-term stability, cleaner alignment and reduced movement.
Maintain a room temperature of roughly 15–22°C and relative humidity of 45–65% before, during and after installation.
Each board should be checked before installation. Pattern flooring requires careful sequencing, layout planning and consistent expansion space.
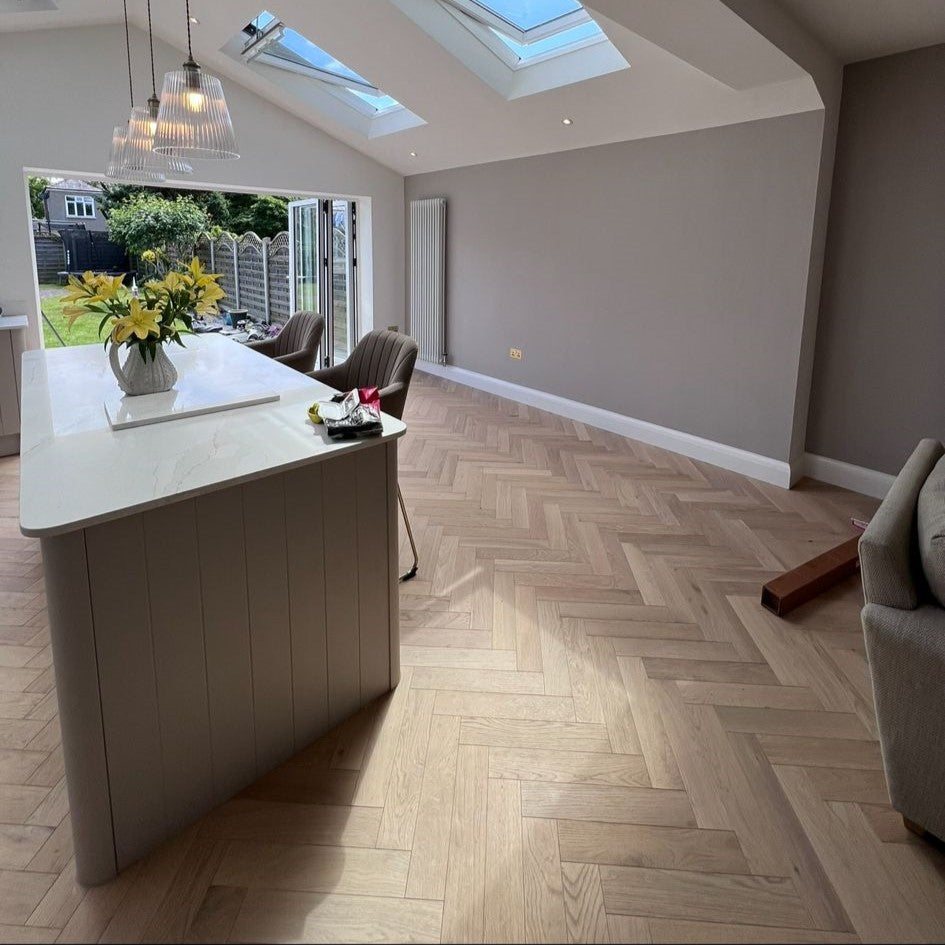
Herringbone flooring creates a distinctive, premium look, but it also demands more planning and accuracy than standard plank installation. Each board must be positioned correctly to maintain a balanced and continuous pattern throughout the room.
This guide is designed to help customers and installers understand the essential principles before fitting begins, from site preparation and subfloor suitability to layout planning and final finishing.
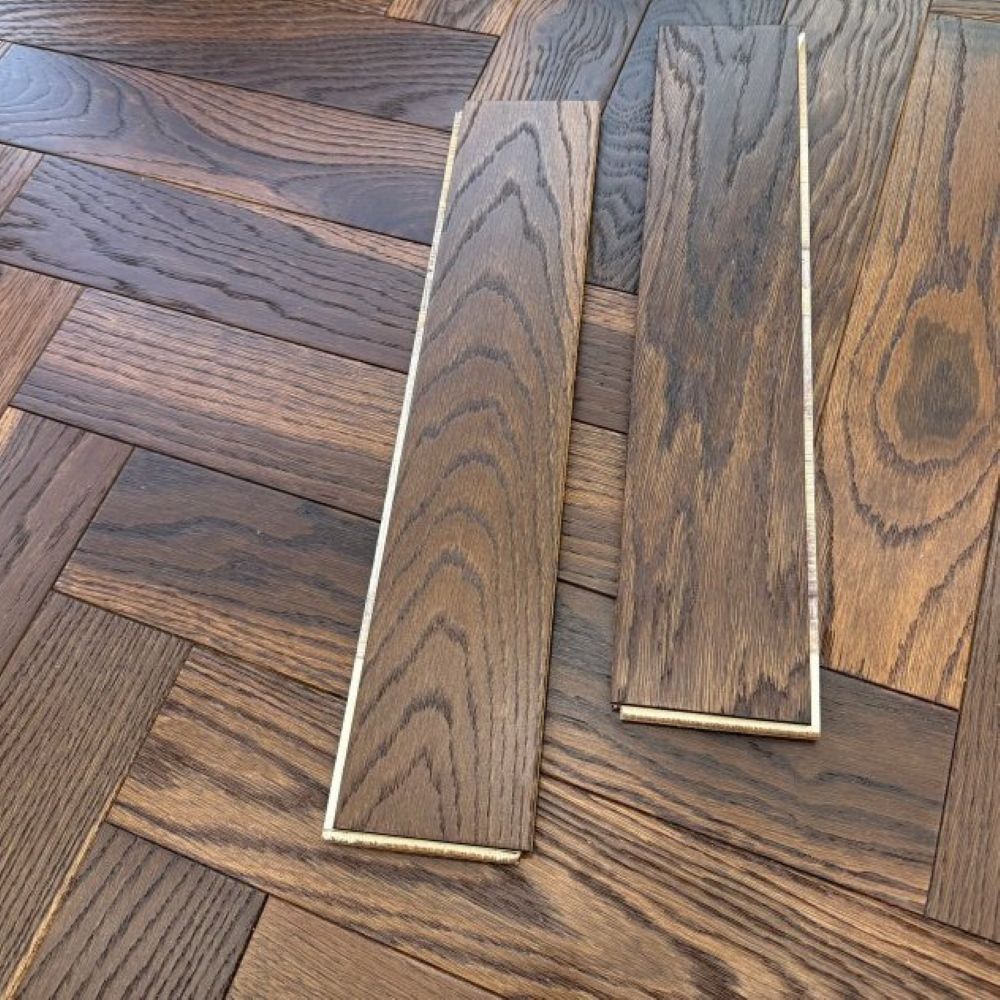
Herringbone boards should be acclimatised on site in their original packaging before installation. The room should be dry, enclosed and conditioned, with stable temperature and humidity before fitting begins.
Each pack should be checked carefully in natural light so any damaged, scratched or unsuitable pieces can be set aside before use. As with all real wood flooring, colour and grain variation are part of the product and should be blended naturally during installation.
Pattern flooring should always be checked and planned carefully before fitting. Once installed, the product is considered accepted in appearance and finish.
Before laying herringbone, make sure the base is flat and ready with our subfloor requirements guide.
The subfloor must be clean, dry, stable and especially level before herringbone flooring is installed. Pattern floors are less forgiving than standard plank layouts, so unevenness can quickly affect alignment and the final visual result.
Herringbone flooring is best installed using a full glue-down method. This helps minimise movement, supports long-term stability and gives better control over alignment across the full pattern.
Because herringbone layouts involve repeated directional changes and precise board placement, a fully bonded installation is usually the most reliable and professional approach.
Where other installation methods are considered, they should only be used if fully appropriate for the product, subfloor and room conditions. For most herringbone applications, full bonding remains the preferred approach.
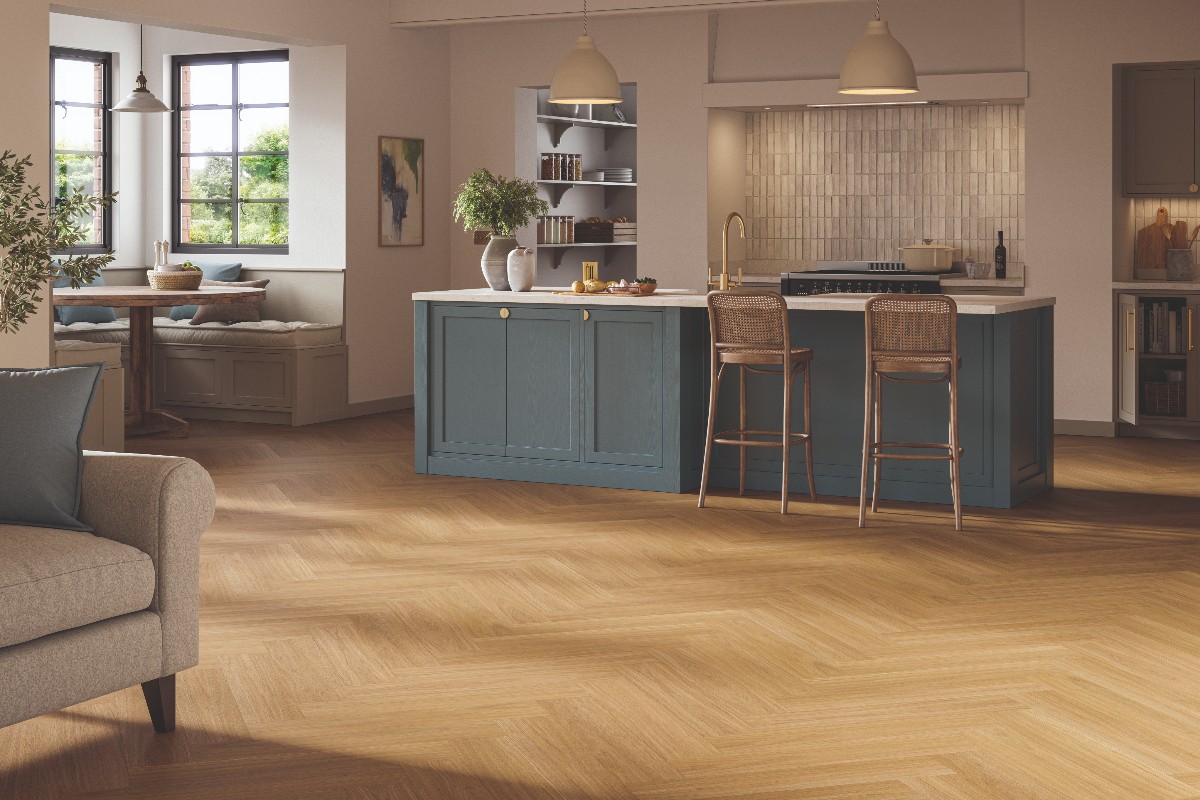
Good layout planning is one of the most important parts of herringbone installation. The starting line, board orientation and spacing all affect the final visual balance of the room.
Depending on the product and room, installers may begin from the longest wall or establish a centred reference line to keep the pattern symmetrical and visually balanced.
Although room layouts and board formats can vary, most herringbone installations follow the same overall sequence.
Check all boards, confirm room conditions and make sure the subfloor is fully prepared, clean, dry and level.
Establish the starting line and confirm the board orientation so the herringbone pattern remains clean and balanced.
Install the boards carefully using the recommended adhesive method, keeping spacing, alignment and direction consistent.
Complete the perimeter, keep expansion space free, and finish the room with trims or skirting fixed correctly to the wall.
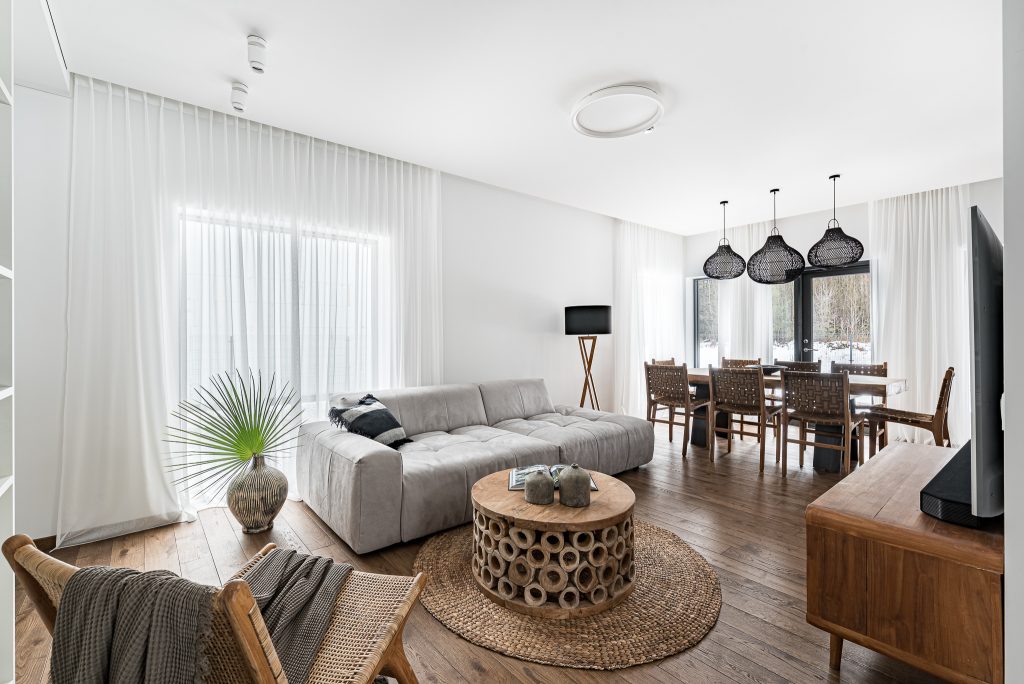
Once installation is complete, the floor should be protected while the room returns to normal use. Newly installed wood flooring should not be exposed to unnecessary moisture, rough handling or unstable room conditions.
Learn how to clean and protect newly installed wood flooring after fitting.
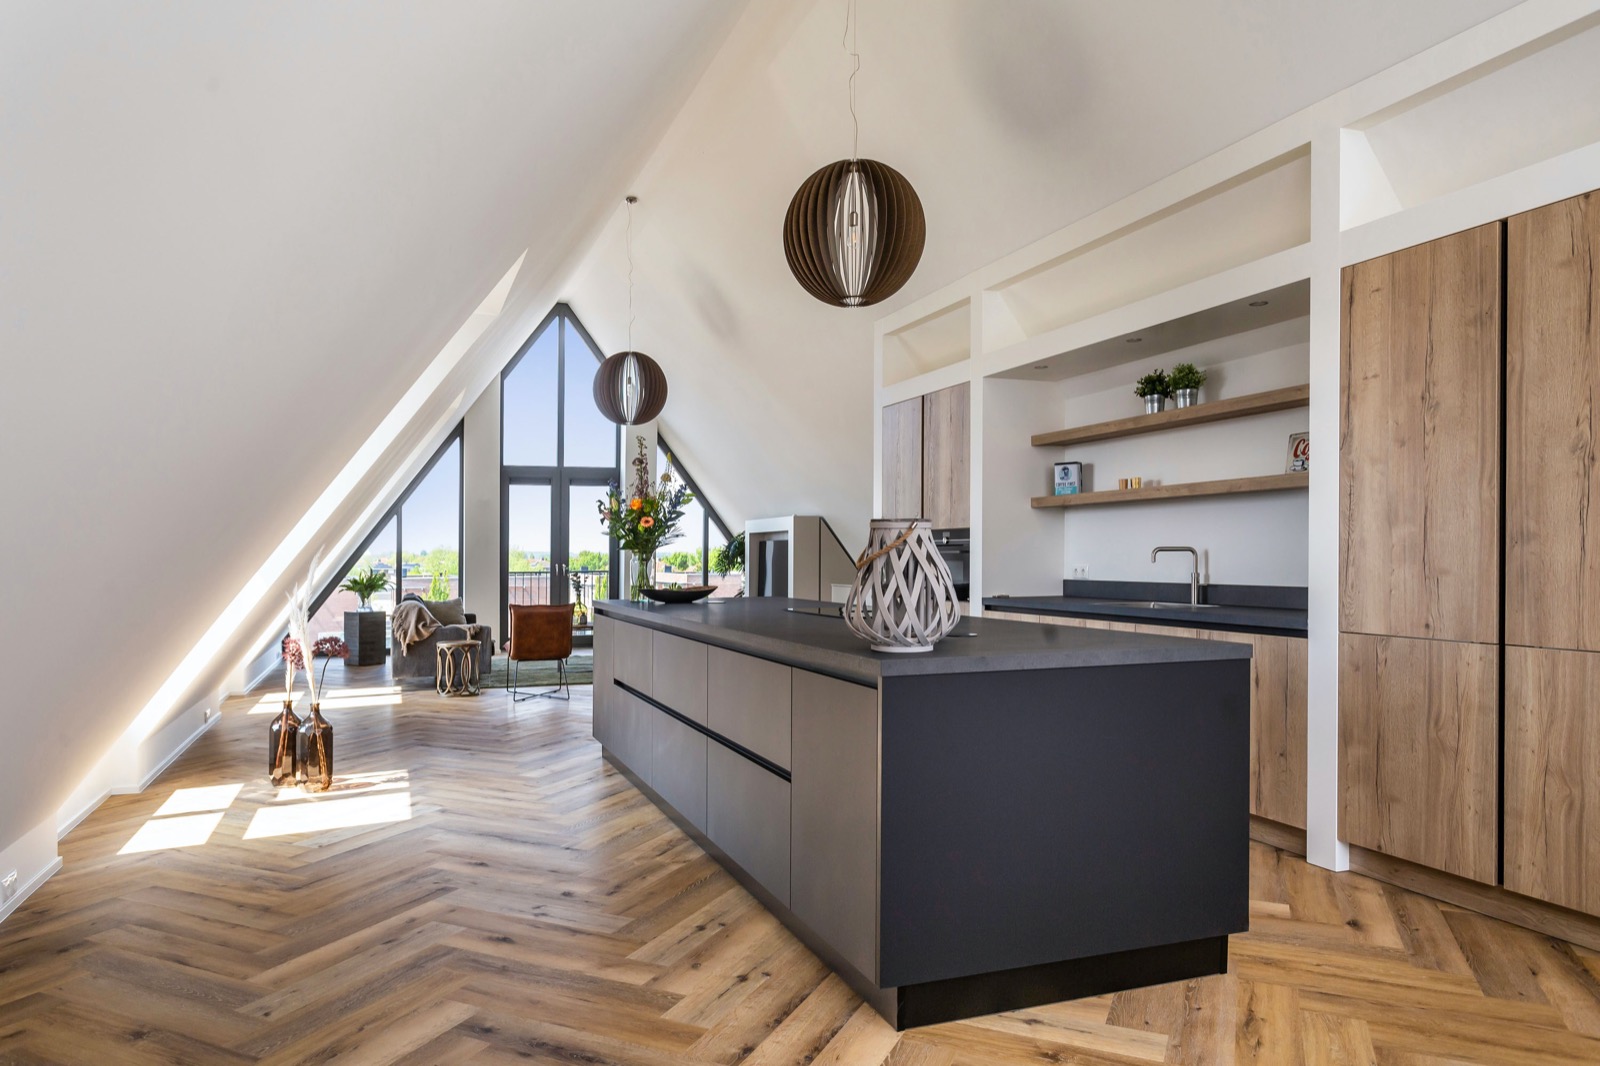
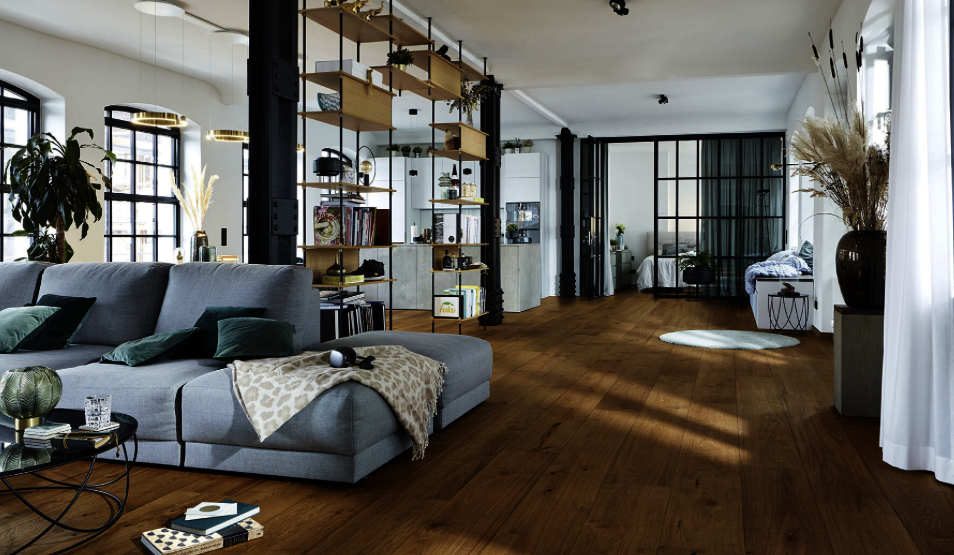
Herringbone flooring is a real wood product and natural variation in colour, grain and tone should be expected. Sunlight and normal ageing may also influence the appearance of the floor over time.
Because this is a precision parquet layout, preparation and fitting quality are especially important. A stable subfloor, correct room climate and careful installation all contribute to the final result and long-term performance.
We strongly recommend professional installation for herringbone flooring to ensure a clean pattern, correct bonding and a premium finished look.
If you are unsure about layout planning, installation methods or whether herringbone is right for your project, our team can help you choose the most suitable option before you place your order.
Choose the right fitting and installation guide for your flooring type. You can also jump back to the main Expert Flooring Guide hub to browse every collection in one place.
The foundation of a perfect floor starts below the surface. Learn how to assess, prepare and improve your subfloor before installation to achieve a stable, long-lasting and professional…
Open next guideThese hand-picked related guides strengthen the journey between installation, technical advice, room climate and ongoing floor care.

These article links are pulled from the Homes & Floors article hub so the guide pages connect back into broader buying advice, comparisons and care content.

We use essential cookies for secure browsing and core site functionality, plus optional cookies for analytics and marketing to improve your experience, understand site usage and support relevant campaigns.